上一篇总结了Spring Cloud的工作流程,和Dubbo相比,Spring Cloud使用Eureka作为服务的注册中心,我们这篇来实现一个简单的Spring Cloud生产者、消费者操作。
Eureka的启动
使用Eureka作为注册中心,和ZooKeeper类似,需要单独启动Eureka Server,我们创建一个空工程,然后创建三个Spring Boot的module分别作为注册中心,服务提供者,服务消费者。首先创建Eureka并启动,第一步引入相关依赖。
1
2
3
4
5
|
<dependency>
<groupId>org.springframework.cloud</groupId>
<artifactId>spring-cloud-starter-netflix-eureka-server</artifactId>
</dependency>
|
然后对注册中心进行一些配置,我们使用yml文件的形式配置如下。
1
2
3
4
5
6
7
8
9
10
11
| server:
port: 8761
eureka:
instance:
hostname: eureka-server
client:
register-with-eureka: false
fetch-registry: false
service-url:
defaultZone: http://localhost:8761/eureka/
|
紧接着,在Spring Boot工程的启动类中使用注解启动注册中心。
1
2
3
4
5
6
7
8
9
| @EnableEurekaServer
@SpringBootApplication
public class EurekaServerApplication {
public static void main(String[] args) {
SpringApplication.run(EurekaServerApplication.class, args);
}
}
|
Eureka配置完成后,我们启动,然后到浏览器中访问8761端口查看启动状况。
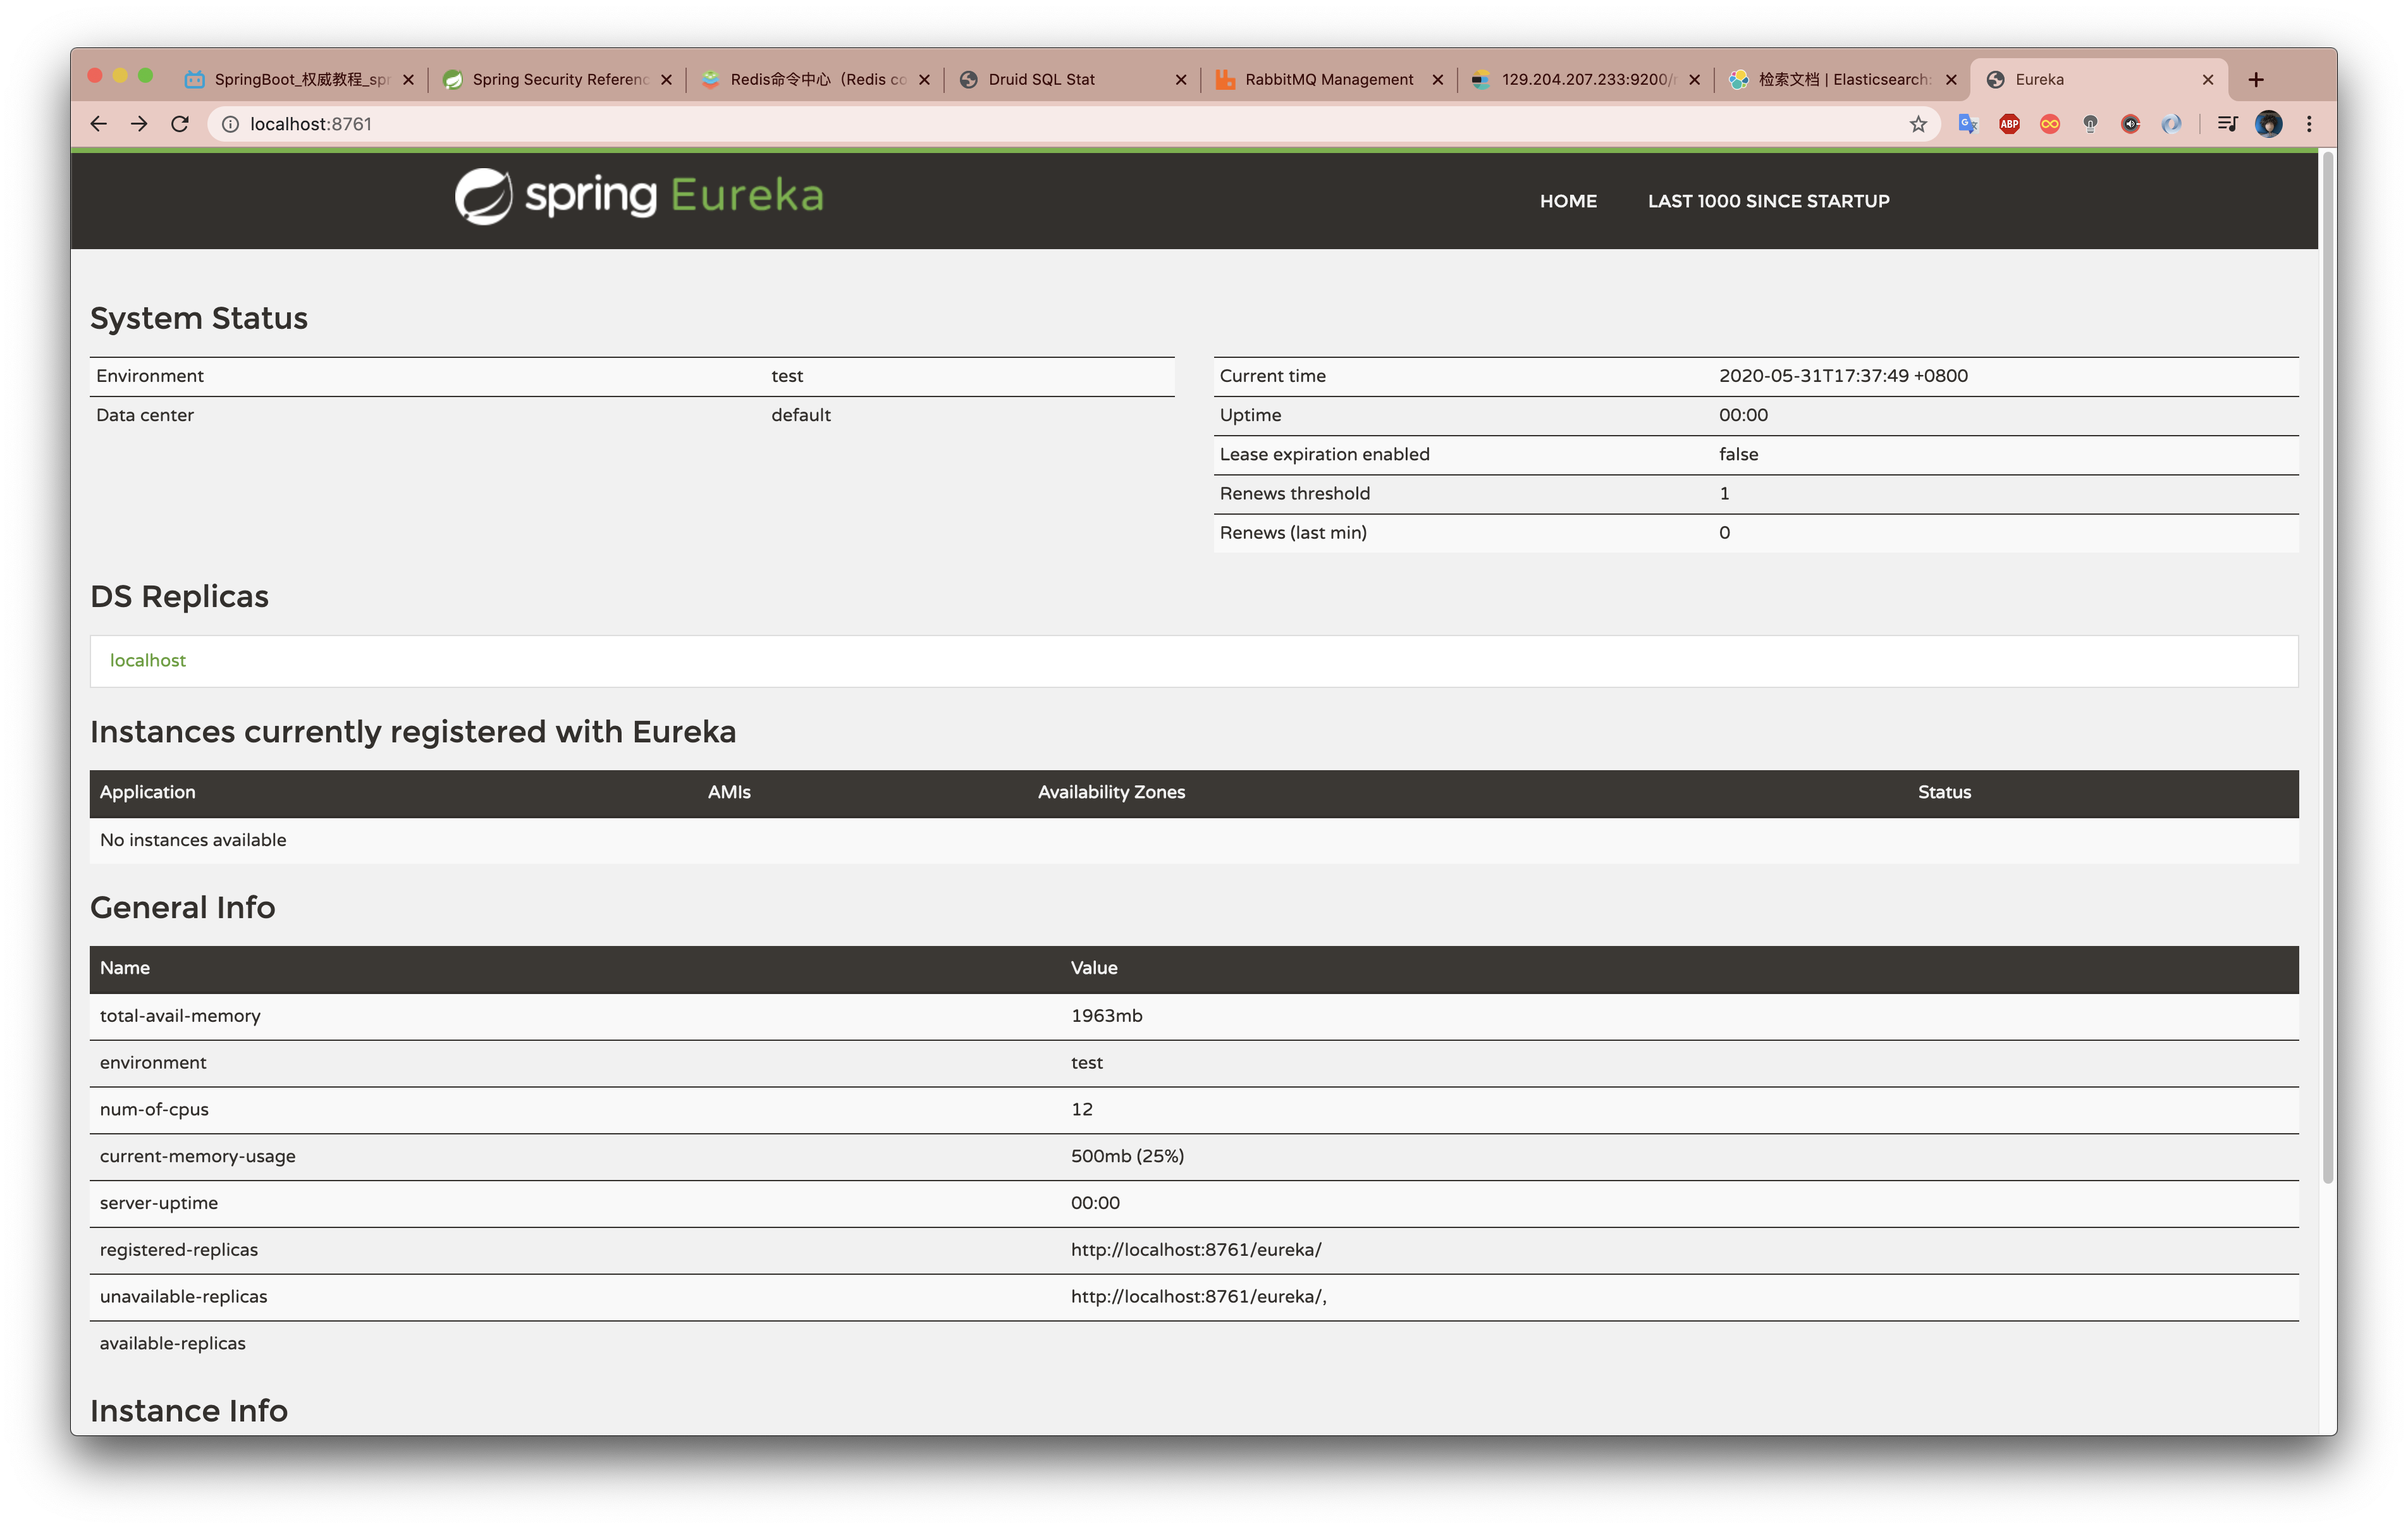
效果如上图所示,Eureka已经启动成功,我们看到Instances表格中目前还没有服务注册。
服务提供者
创建Spring Boot工程,然后导入Eureka的客户端依赖,服务提供者实现的服务我们需要让它们注册到注册中心。
1
2
3
4
5
|
<dependency>
<groupId>org.springframework.cloud</groupId>
<artifactId>spring-cloud-starter-netflix-eureka-client</artifactId>
</dependency>
|
我们进行service接口以及实现类的编写。
1
2
3
4
5
6
| package com.ross.provider.service;
public interface TickerService {
String getTicket();
}
|
1
2
3
4
5
6
7
8
9
10
11
12
13
| package com.ross.provider.service.impl;
import com.ross.provider.service.TickerService;
import org.springframework.stereotype.Service;
@Service("tickerService")
public class TicketServiceImpl implements TickerService {
@Override
public String getTicket() {
return "《我和我的祖国》";
}
}
|
我们使用@RestController的注解,将service暴露到外部进行测试,服务消费者可以直接请求该url实现调用服务的目的。
1
2
3
4
5
6
7
8
9
10
11
12
13
14
15
16
17
18
19
20
| package com.ross.provider.controller;
import com.ross.provider.service.TickerService;
import org.springframework.beans.factory.annotation.Autowired;
import org.springframework.web.bind.annotation.GetMapping;
import org.springframework.web.bind.annotation.RestController;
@RestController
public class TicketController {
@Autowired
private TickerService tickerService;
@GetMapping("/ticket")
public String getTicket(){
System.out.println("8001");
return tickerService.getTicket();
}
}
|
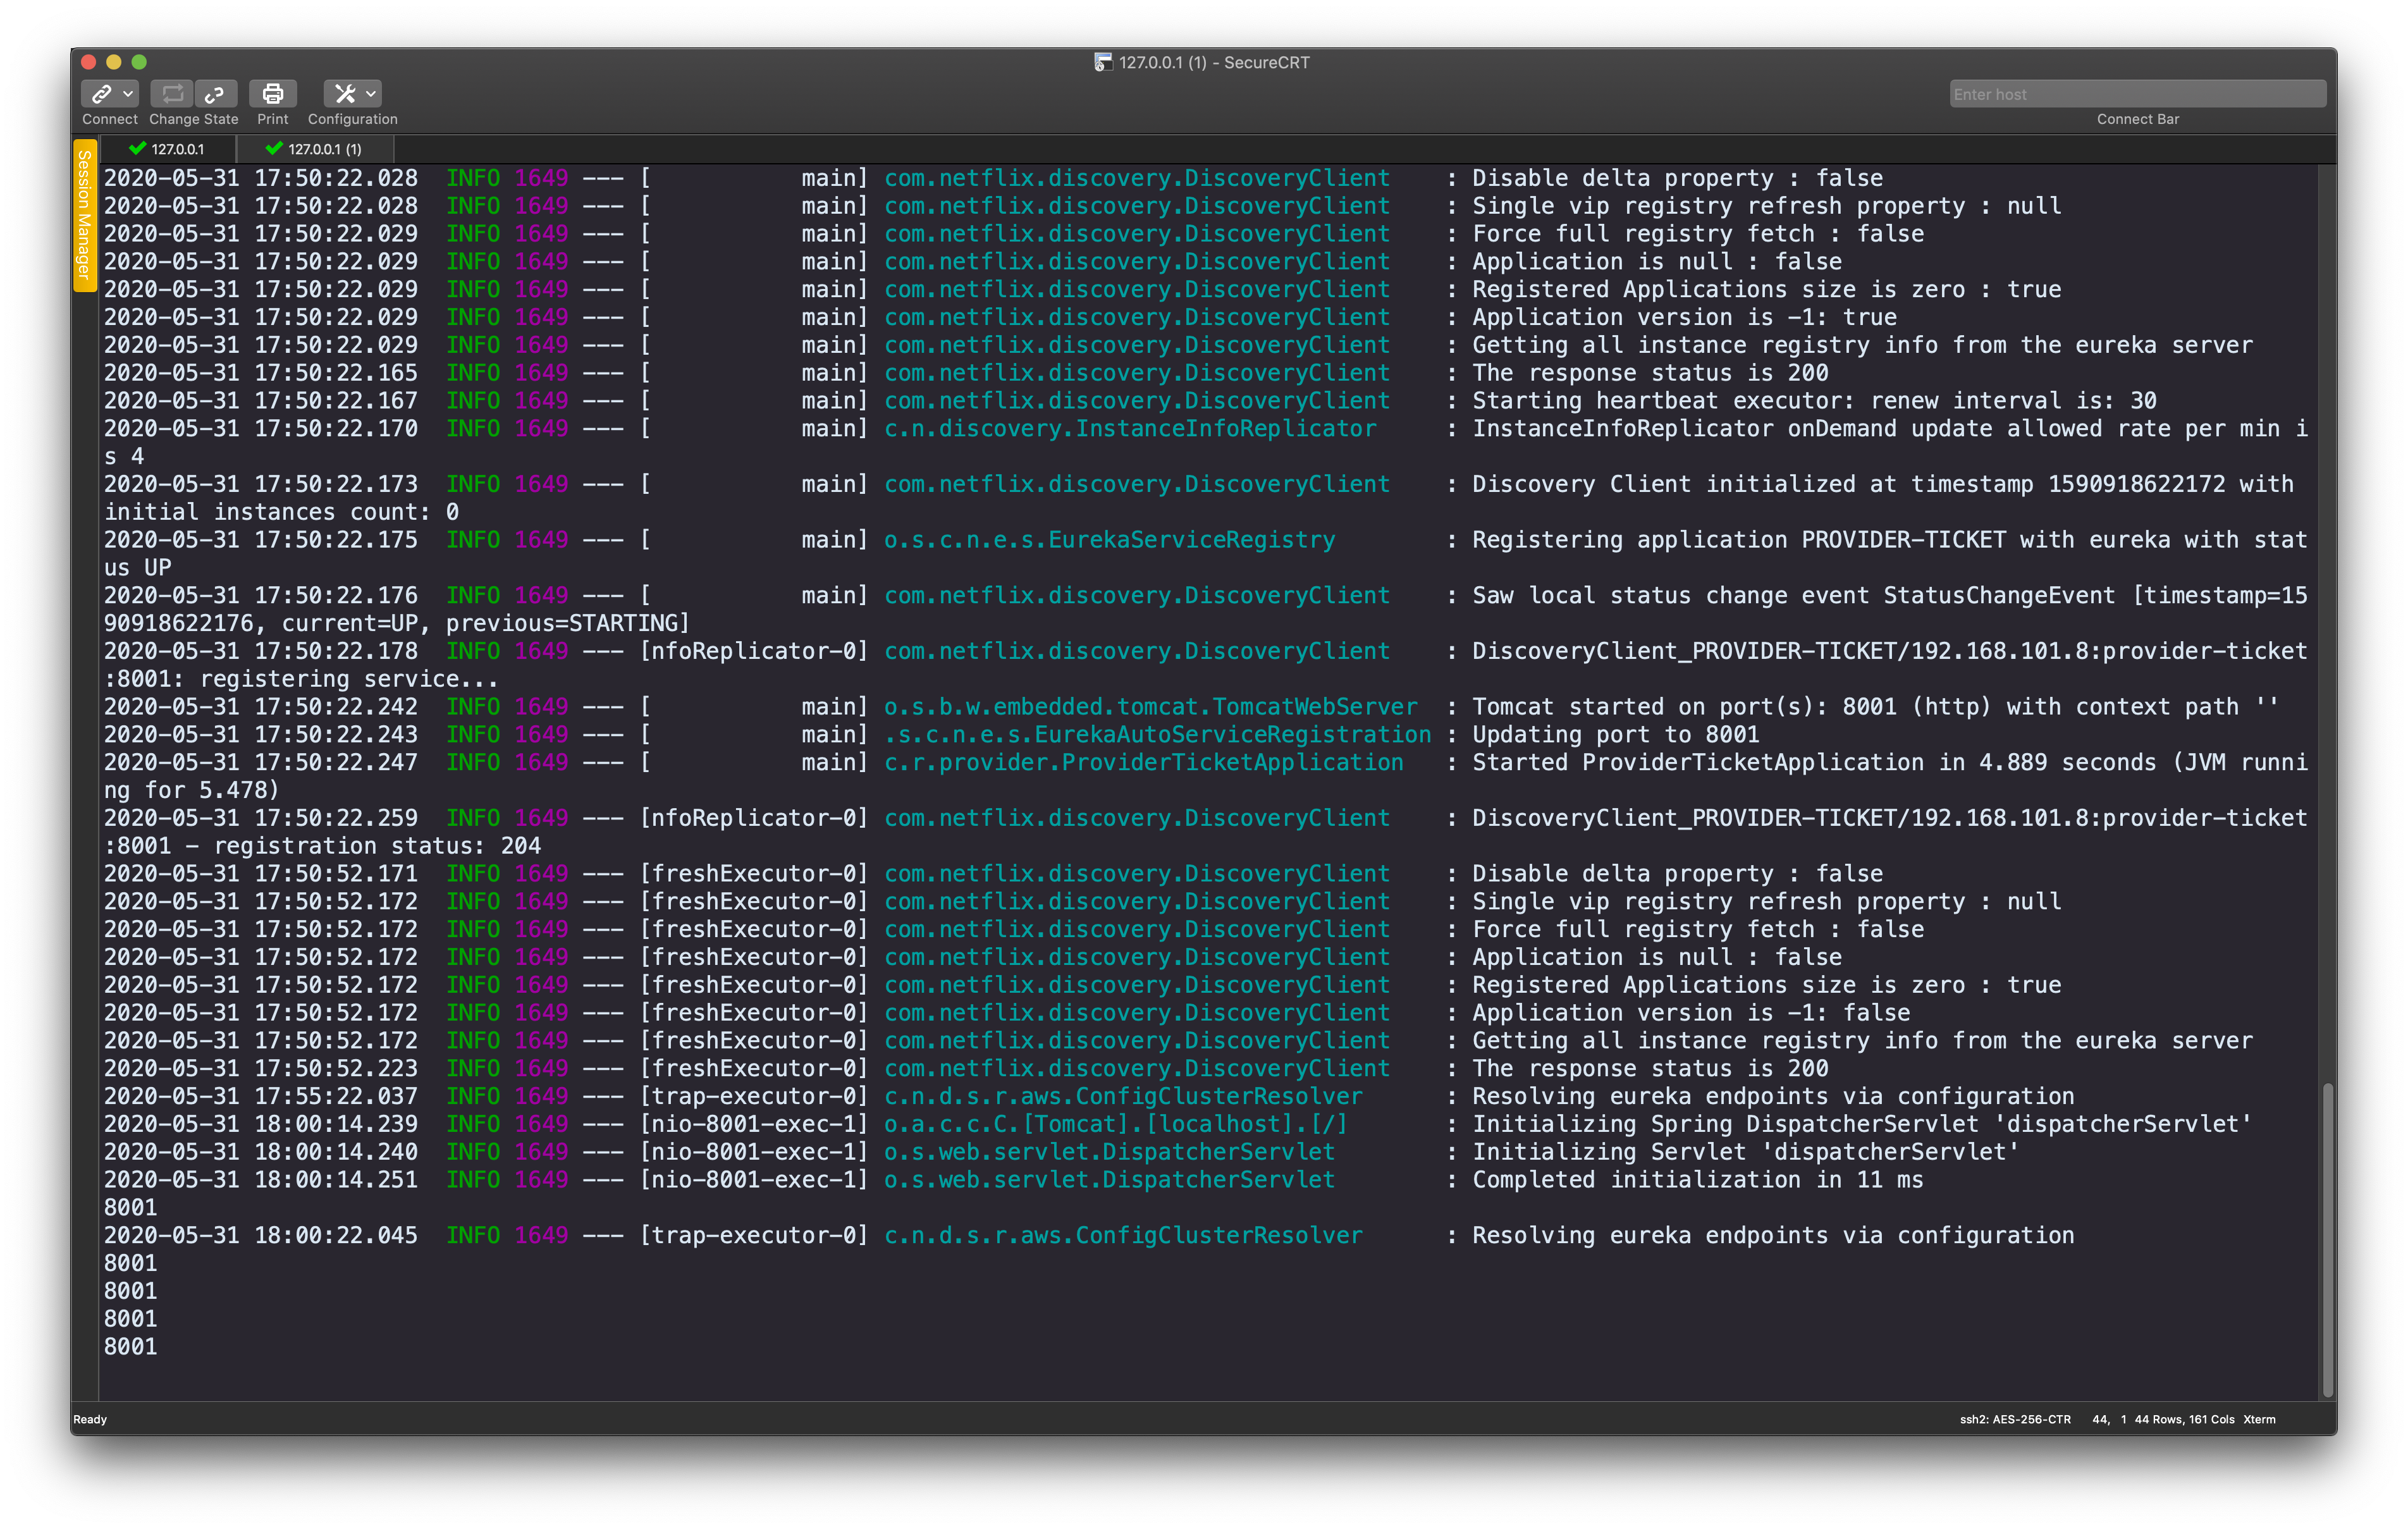
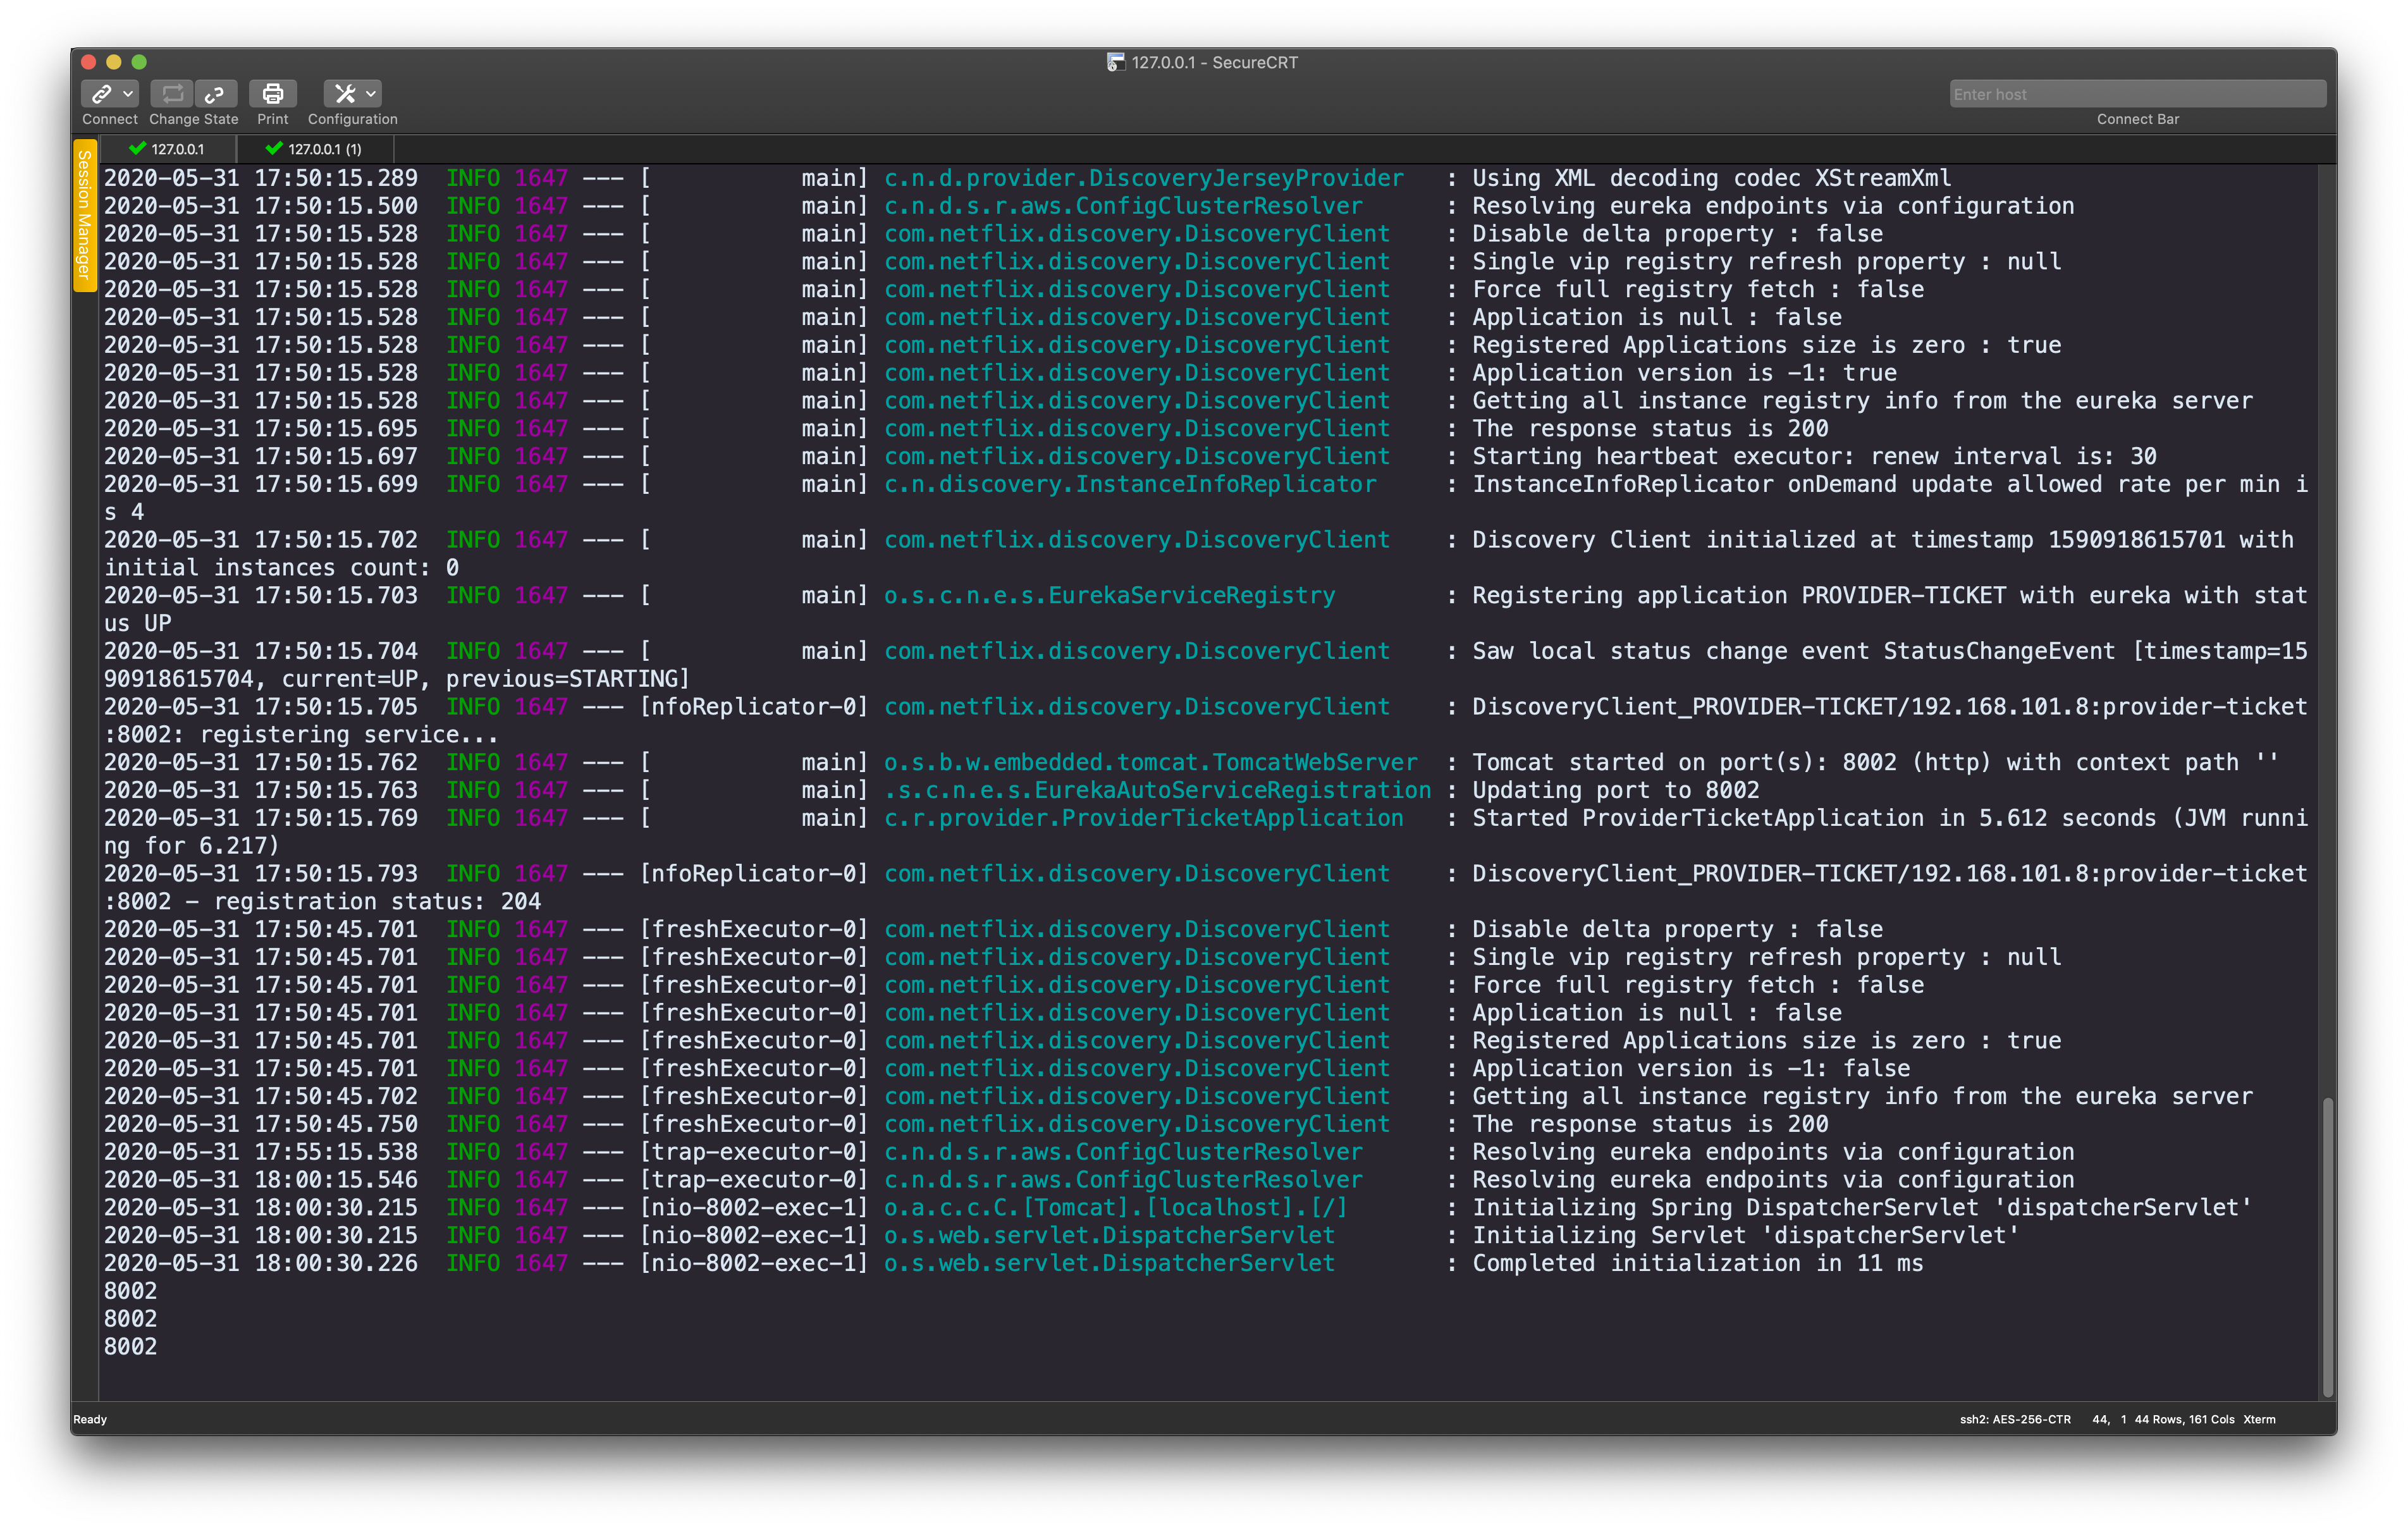
controller和service都编写完成,下面进行应用的配置,我们在测试过程中想实现一个模块多次部署,然后采用负载均衡的机制调用,因此我们将应用设置两个不同的端口,然后进行maven打包,打成jar包的形式进行运行。
1
2
3
4
5
6
7
8
9
10
11
12
| server:
port: 8001
spring:
application:
name: provider-ticket
eureka:
instance:
prefer-ip-address: true
client:
service-url:
defaultZone: http://localhost:8761/eureka/
|
1
2
3
4
5
6
7
8
9
10
11
12
| server:
port: 8002
spring:
application:
name: provider-ticket
eureka:
instance:
prefer-ip-address: true
client:
service-url:
defaultZone: http://localhost:8761/eureka/
|
两个应用分别设置为8001端口和8002端口,并使用下面的命令进行运行。
由于配置了Eureka注册中心的相关信息,两个应用服务都已经注册到Eureka中,我们访问8761端口查看。
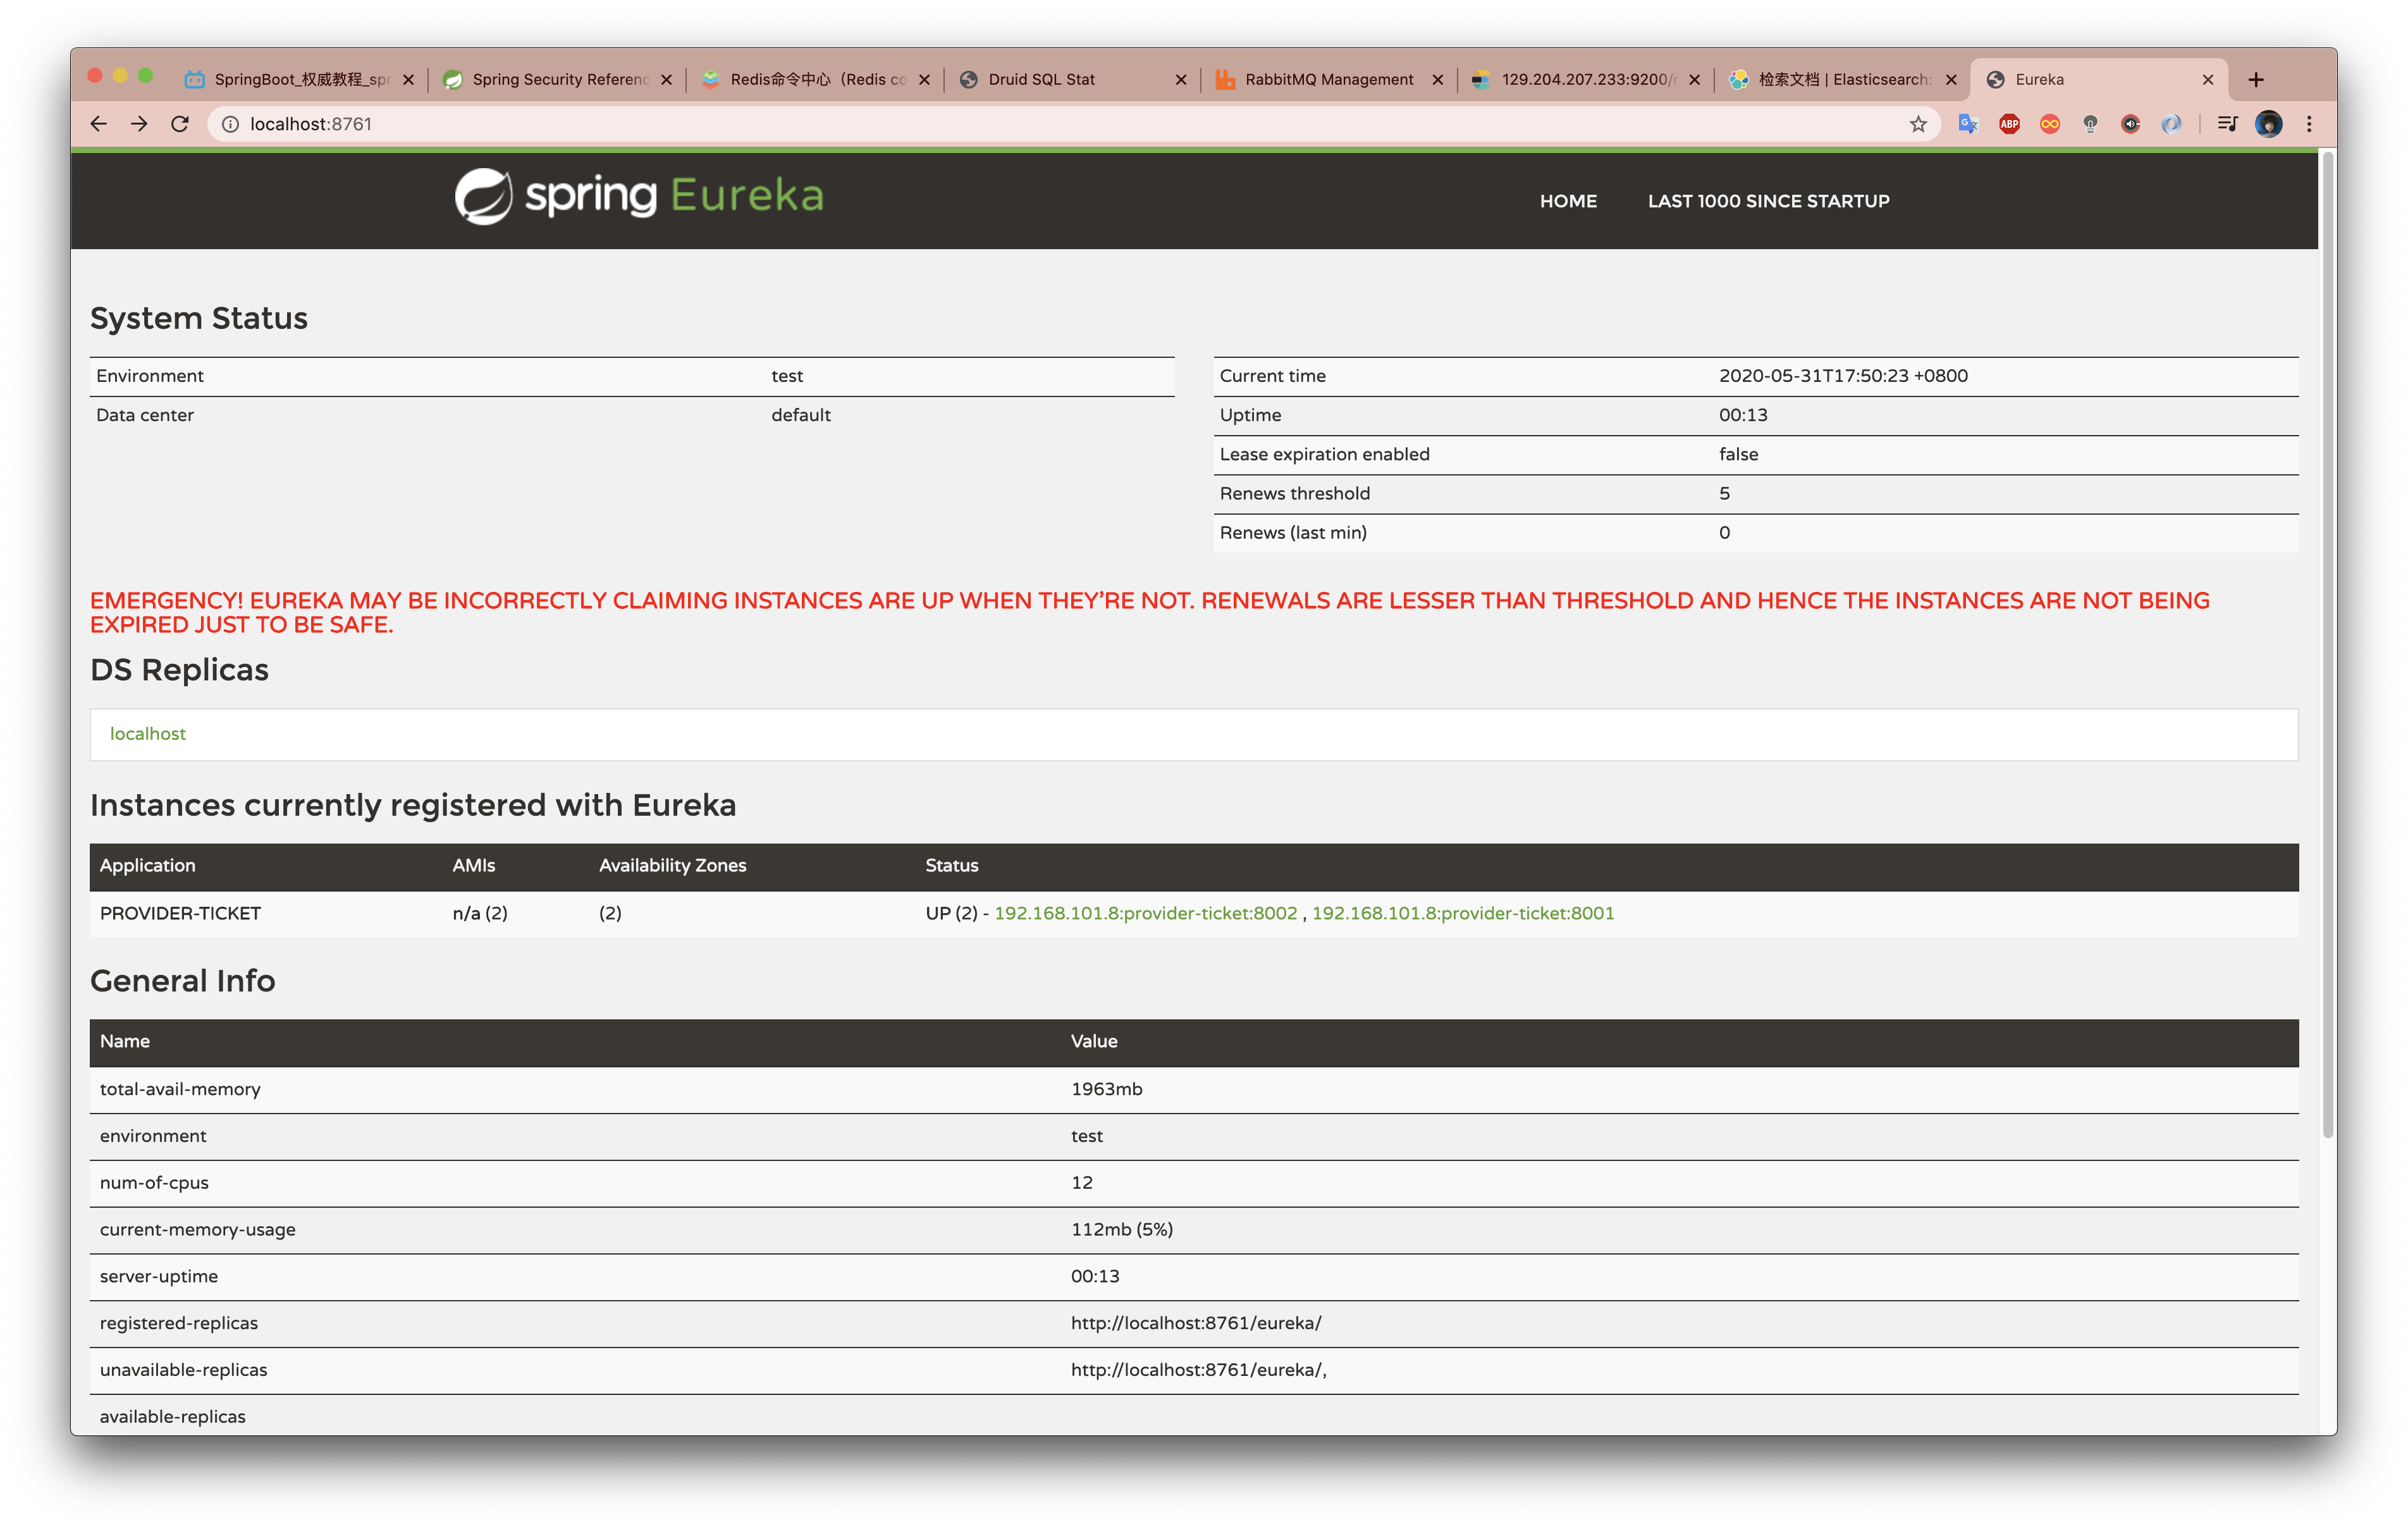
我们发现,此时已经有两个实例注册到了Eureka中。
服务消费者
同样地,服务消费者引入Eureka客户端的依赖,从而创建Spring Boot的工程。
1
2
3
4
| <dependency>
<groupId>org.springframework.cloud</groupId>
<artifactId>spring-cloud-starter-netflix-eureka-client</artifactId>
</dependency>
|
然后使用application.yml文件进行消费者相关信息的配置。
1
2
3
4
5
6
7
8
9
10
11
12
13
| spring:
application:
name: consumer-user
server:
port: 8200
eureka:
instance:
prefer-ip-address: true
client:
service-url:
defaultZone: http://localhost:8761/eureka/
|
我们在Spring Boot的启动类中使用@EnableDiscoveryClient注解开启发现服务的功能,并使用RestTemplate发送Http请求。
1
2
3
4
5
6
7
8
9
10
11
12
13
14
15
16
17
18
19
20
21
22
23
24
25
26
| import org.springframework.boot.SpringApplication;
import org.springframework.boot.autoconfigure.SpringBootApplication;
import org.springframework.cloud.client.discovery.EnableDiscoveryClient;
import org.springframework.cloud.client.loadbalancer.LoadBalanced;
import org.springframework.context.annotation.Bean;
import org.springframework.web.client.RestTemplate;
@EnableDiscoveryClient
@SpringBootApplication
public class ConsumerUserApplication {
public static void main(String[] args) {
SpringApplication.run(ConsumerUserApplication.class, args);
}
@LoadBalanced
@Bean
public RestTemplate restTemplate(){
return new RestTemplate();
}
}
|
消费者同样使用@RestController注解写一个controller,在浏览器中发送请求实现远程调用。
1
2
3
4
5
6
7
8
9
10
11
12
13
14
15
16
17
18
19
20
| package com.ross.consumer.controller;
import org.springframework.beans.factory.annotation.Autowired;
import org.springframework.web.bind.annotation.GetMapping;
import org.springframework.web.bind.annotation.RestController;
import org.springframework.web.client.RestTemplate;
@RestController
public class UserController {
@Autowired
RestTemplate restTemplate;
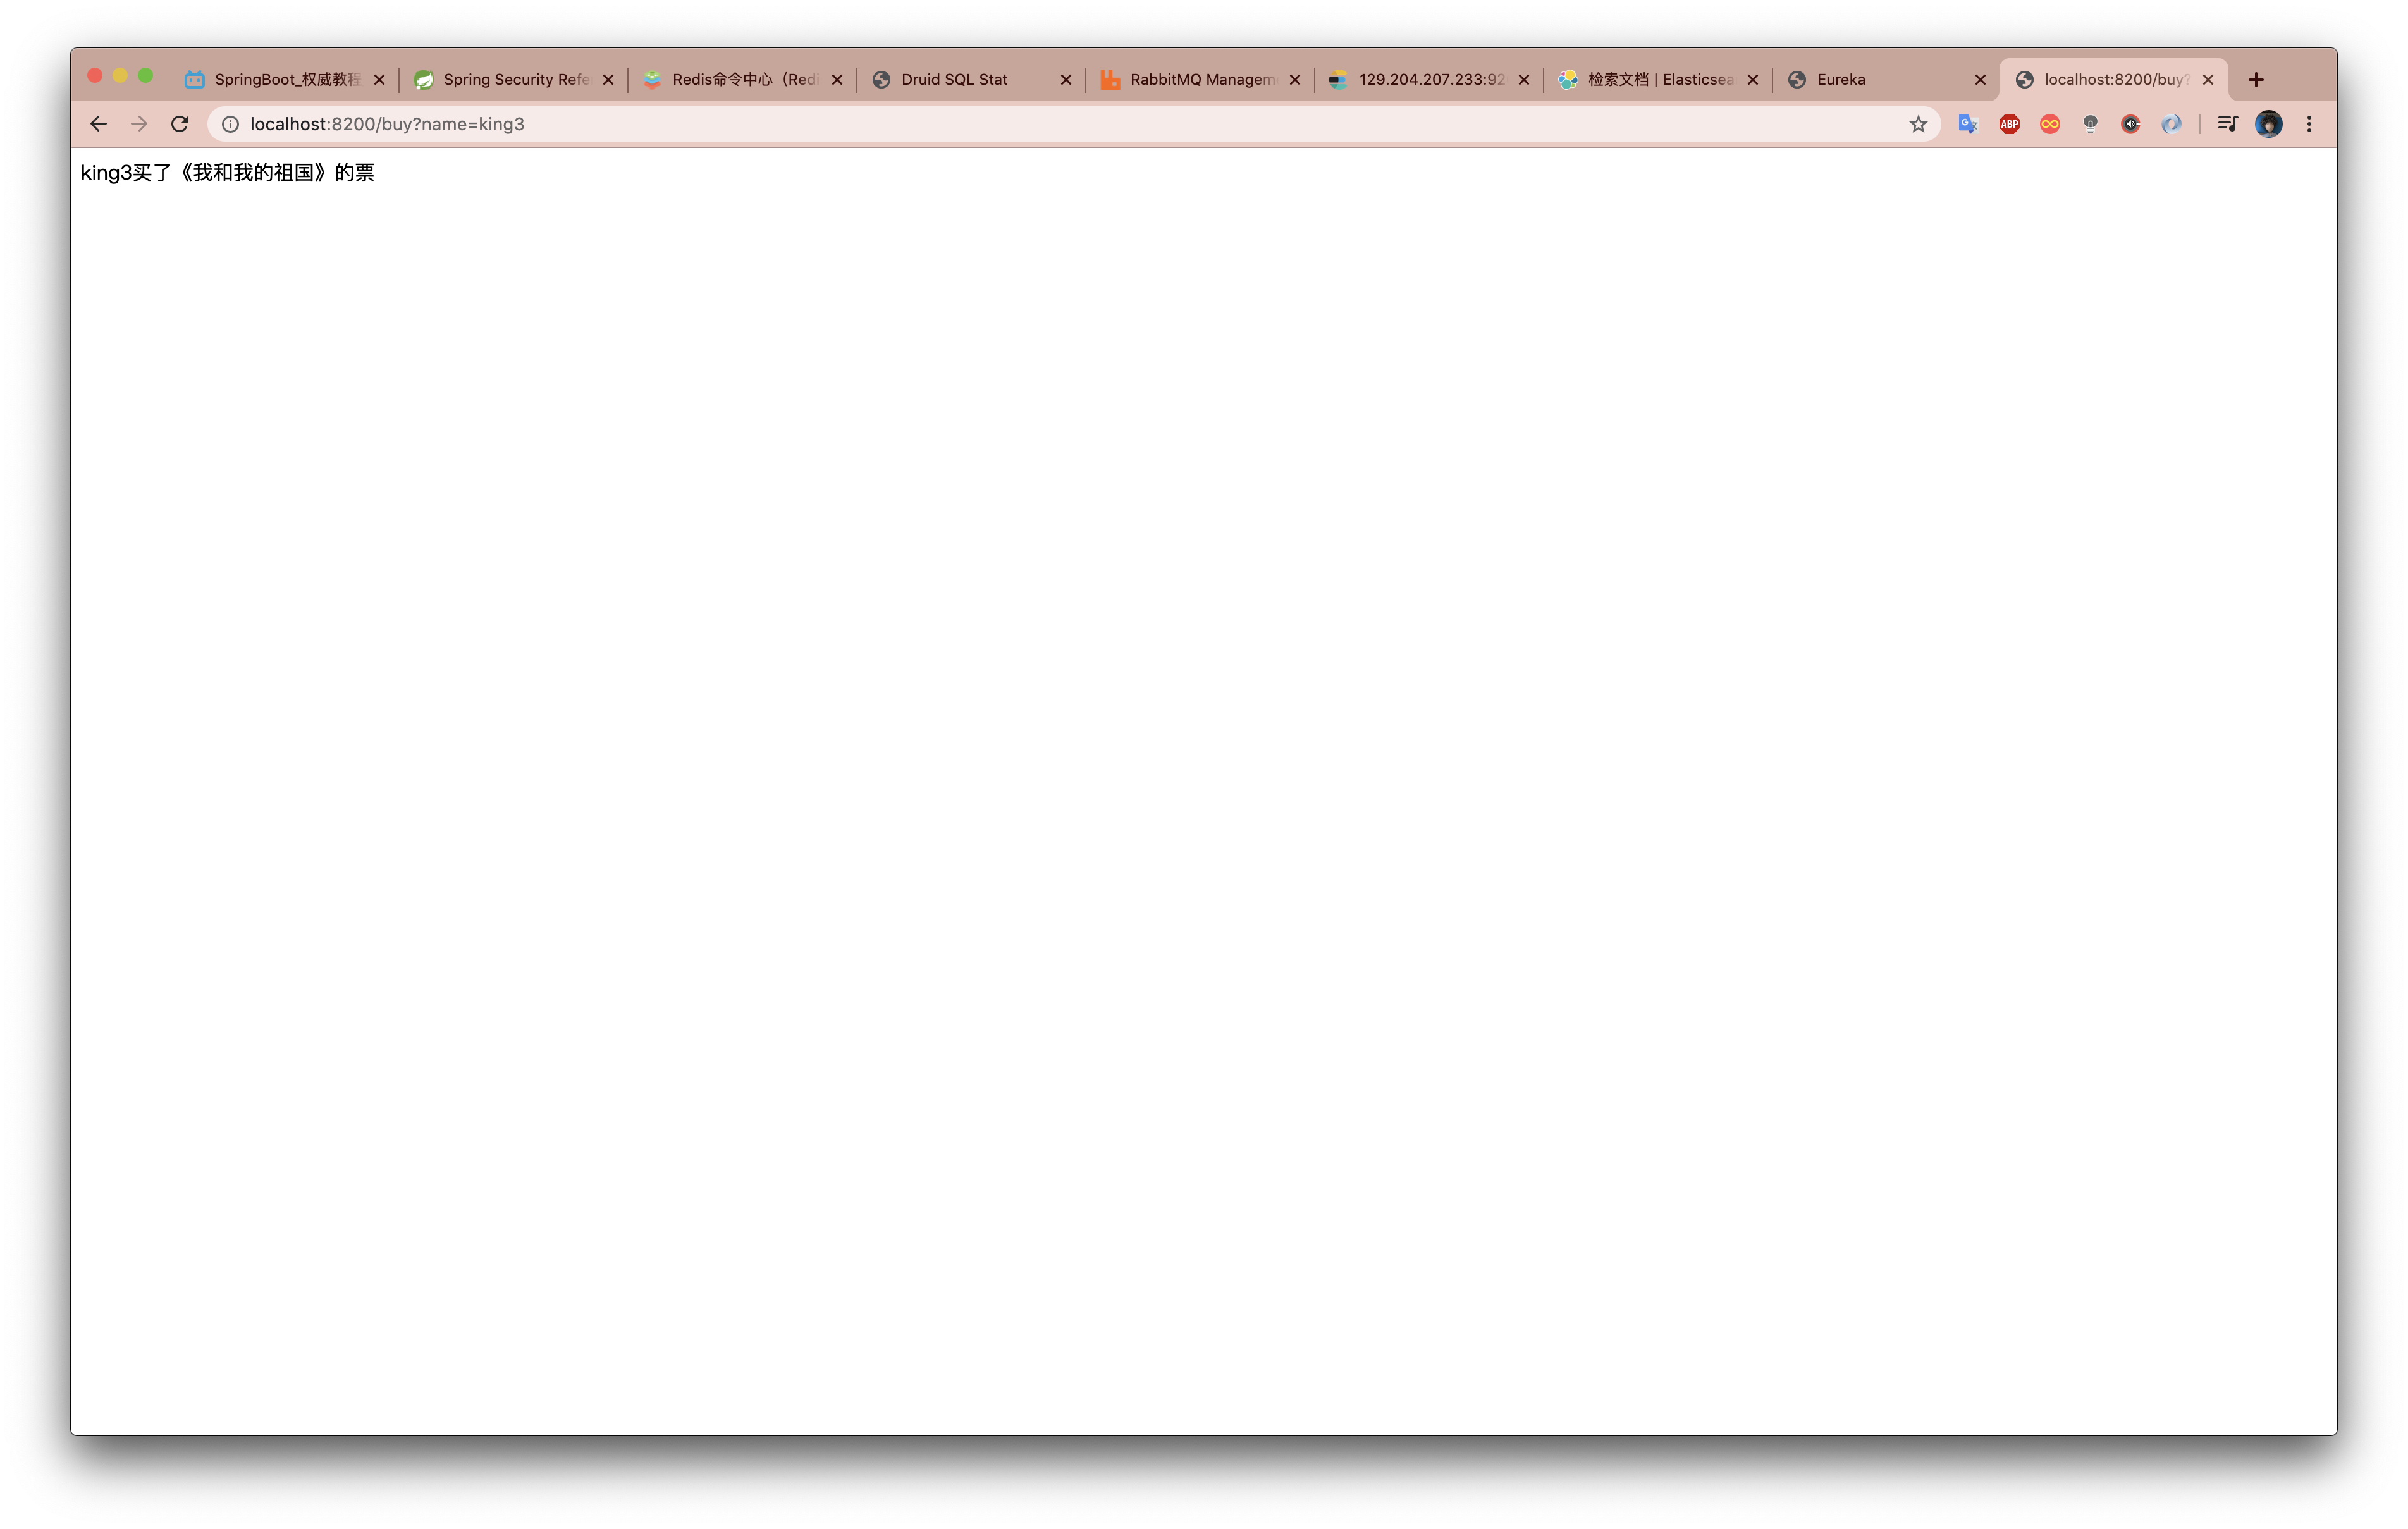
@GetMapping("/buy")
public String buyTicket(String name){
String object = restTemplate.getForObject("http://PROVIDER-TICKET/ticket", String.class);
return name+"买了"+object+"的票";
}
}
|
我们查看Eureka监控,发现消费者也注册到了Eureka中。

在浏览器中填写url请求消费者的controller,然后在应用的后台查看服务调用情况,发现我们配置的轮询的负载均衡生效。