首先理解缓存的概念,缓存通常用于什么场景呢,比如说你正在刷微博,这时候突然出现一个热点事件,比如某”多人运动事件”,由于是焦点话题,一传十,十传百,查看该话题的人会越来越多,如果将该条热点消息放在数据中,每次查看该消息都需要和数据库进行一次交互,而使用微博的人群庞大,数据库承担的压力就会非常大,这也就是微博经常在出现热点消息时就崩的原因。因此当出现热点新闻的时候,及时将该消息放入缓存中存储,后面的人再访问该消息就无须再查询数据库,极大地减轻了数据库的压力。
使用Redis中间件进行缓存
Redis的特点
Redis是目前追求高并发系统必用的中间件之一,它不仅可以用来做缓存,还能用作数据库以及消息中间件,Redis的基本结构是key-value存储数据,常用的数据类型有String(字符串)、List(列表)、Set(集合)、Hash(散列)、ZSet(有序集合)。
搭建Redis环境
由于测试缓存的侧重性在于如何对数据进行缓存,这里就不再纠结Redis的搭建,直接使用docker部署。
首先在docker仓库中搜索Redis:
之后可以直接拉取最新的Redis镜像:
拉取镜像完成后,查看镜像的情况,然后直接进行部署:
1
2
| docker images
docker run -d -p 6379:6379 --name myRedis redis
|
在SpringBoot项目中使用Redis进行缓存
首先创建SpringBoot的测试环境,引入相关的依赖,使用缓存以及Redis需要引入下面的两个依赖:
1
2
3
4
5
6
7
8
9
10
11
|
<dependency>
<groupId>org.springframework.boot</groupId>
<artifactId>spring-boot-starter-cache</artifactId>
</dependency>
<dependency>
<groupId>org.springframework.boot</groupId>
<artifactId>spring-boot-starter-data-redis</artifactId>
</dependency>
|
由于SpringBoot会进行Redis相关的配置检查,只要我们进行了引入依赖,SpringBoot会自动检测到配置类,然后我们在application.properties文件中进行Redis相关连接信息的配置。
1
2
3
| # 配置redis
spring.redis.host=服务器地址
spring.redis.port=6379
|
在这里要说明一点,通常情况下,我们入缓存的同时都是对象,这就需要对象实现序列化接口,而RedisTemplate默认使用的是JDK提供的缓存方式,写入到Redis中会变为乱码,此时我们进行手动编写配置类进行JSON格式的序列化,以此达到缓存数据的效果。
1
2
3
4
5
6
7
8
9
10
11
12
13
14
15
16
17
18
19
20
|
import java.io.Serializable;
import java.util.Date;
@Lombok
public class Employee implements Serializable {
private Integer id;
private String lastname;
private String email;
private Integer gender;
private Integer dId;
private Department department;
private Date birth;
}
|
1
2
3
4
5
6
7
8
9
10
11
12
13
14
15
16
17
18
19
20
|
@Configuration
public class RedisConfiguration {
@Bean
public CacheManager cacheManager(RedisConnectionFactory factory) {
RedisCacheConfiguration cacheConfiguration =
RedisCacheConfiguration.defaultCacheConfig()
.entryTtl(Duration.ofDays(1))
.disableCachingNullValues()
.serializeValuesWith(RedisSerializationContext.SerializationPair.fromSerializer(new
GenericJackson2JsonRedisSerializer()))
.serializeKeysWith(RedisSerializationContext.SerializationPair
.fromSerializer(new StringRedisSerializer()));
RedisCacheManager cacheManager = RedisCacheManager.builder(factory).cacheDefaults(cacheConfiguration).build();
return cacheManager;
}
}
|
这样的配置会使默认的CacheManager变为我们需要的Redis的CacheManager,将经常访问的数据缓存到Redis中。配置完成后,我们可以直接使用注解,对需要的方法的返回值进行缓存。通常缓存会在Service层进行,因此我们来进行编码。
1
2
3
4
5
6
7
8
9
10
11
12
13
14
15
16
17
18
19
20
21
22
23
24
25
26
27
28
29
| @Service("employeeService")
@Transactional(propagation= Propagation.REQUIRED,rollbackFor=Exception.class)
public class EmployeeServiceImpl implements EmployeeService {
@Autowired
private EmployeeMapper employeeMapper;
@Cacheable(cacheNames = "emp",key = "#id")
@Override
public Employee getEmp(Integer id) {
return employeeMapper.selectByPrimaryKey(id);
}
@CachePut(cacheNames = "emp",key = "#result.id")
@Override
public Employee modify(Employee employee) {
employeeMapper.updateByPrimaryKeySelective(employee);
return employee;
}
@CacheEvict(cacheNames = "emp",key = "#id")
@Override
public int remove(Integer id) {
return employeeMapper.deleteByPrimaryKey(id);
}
}
|
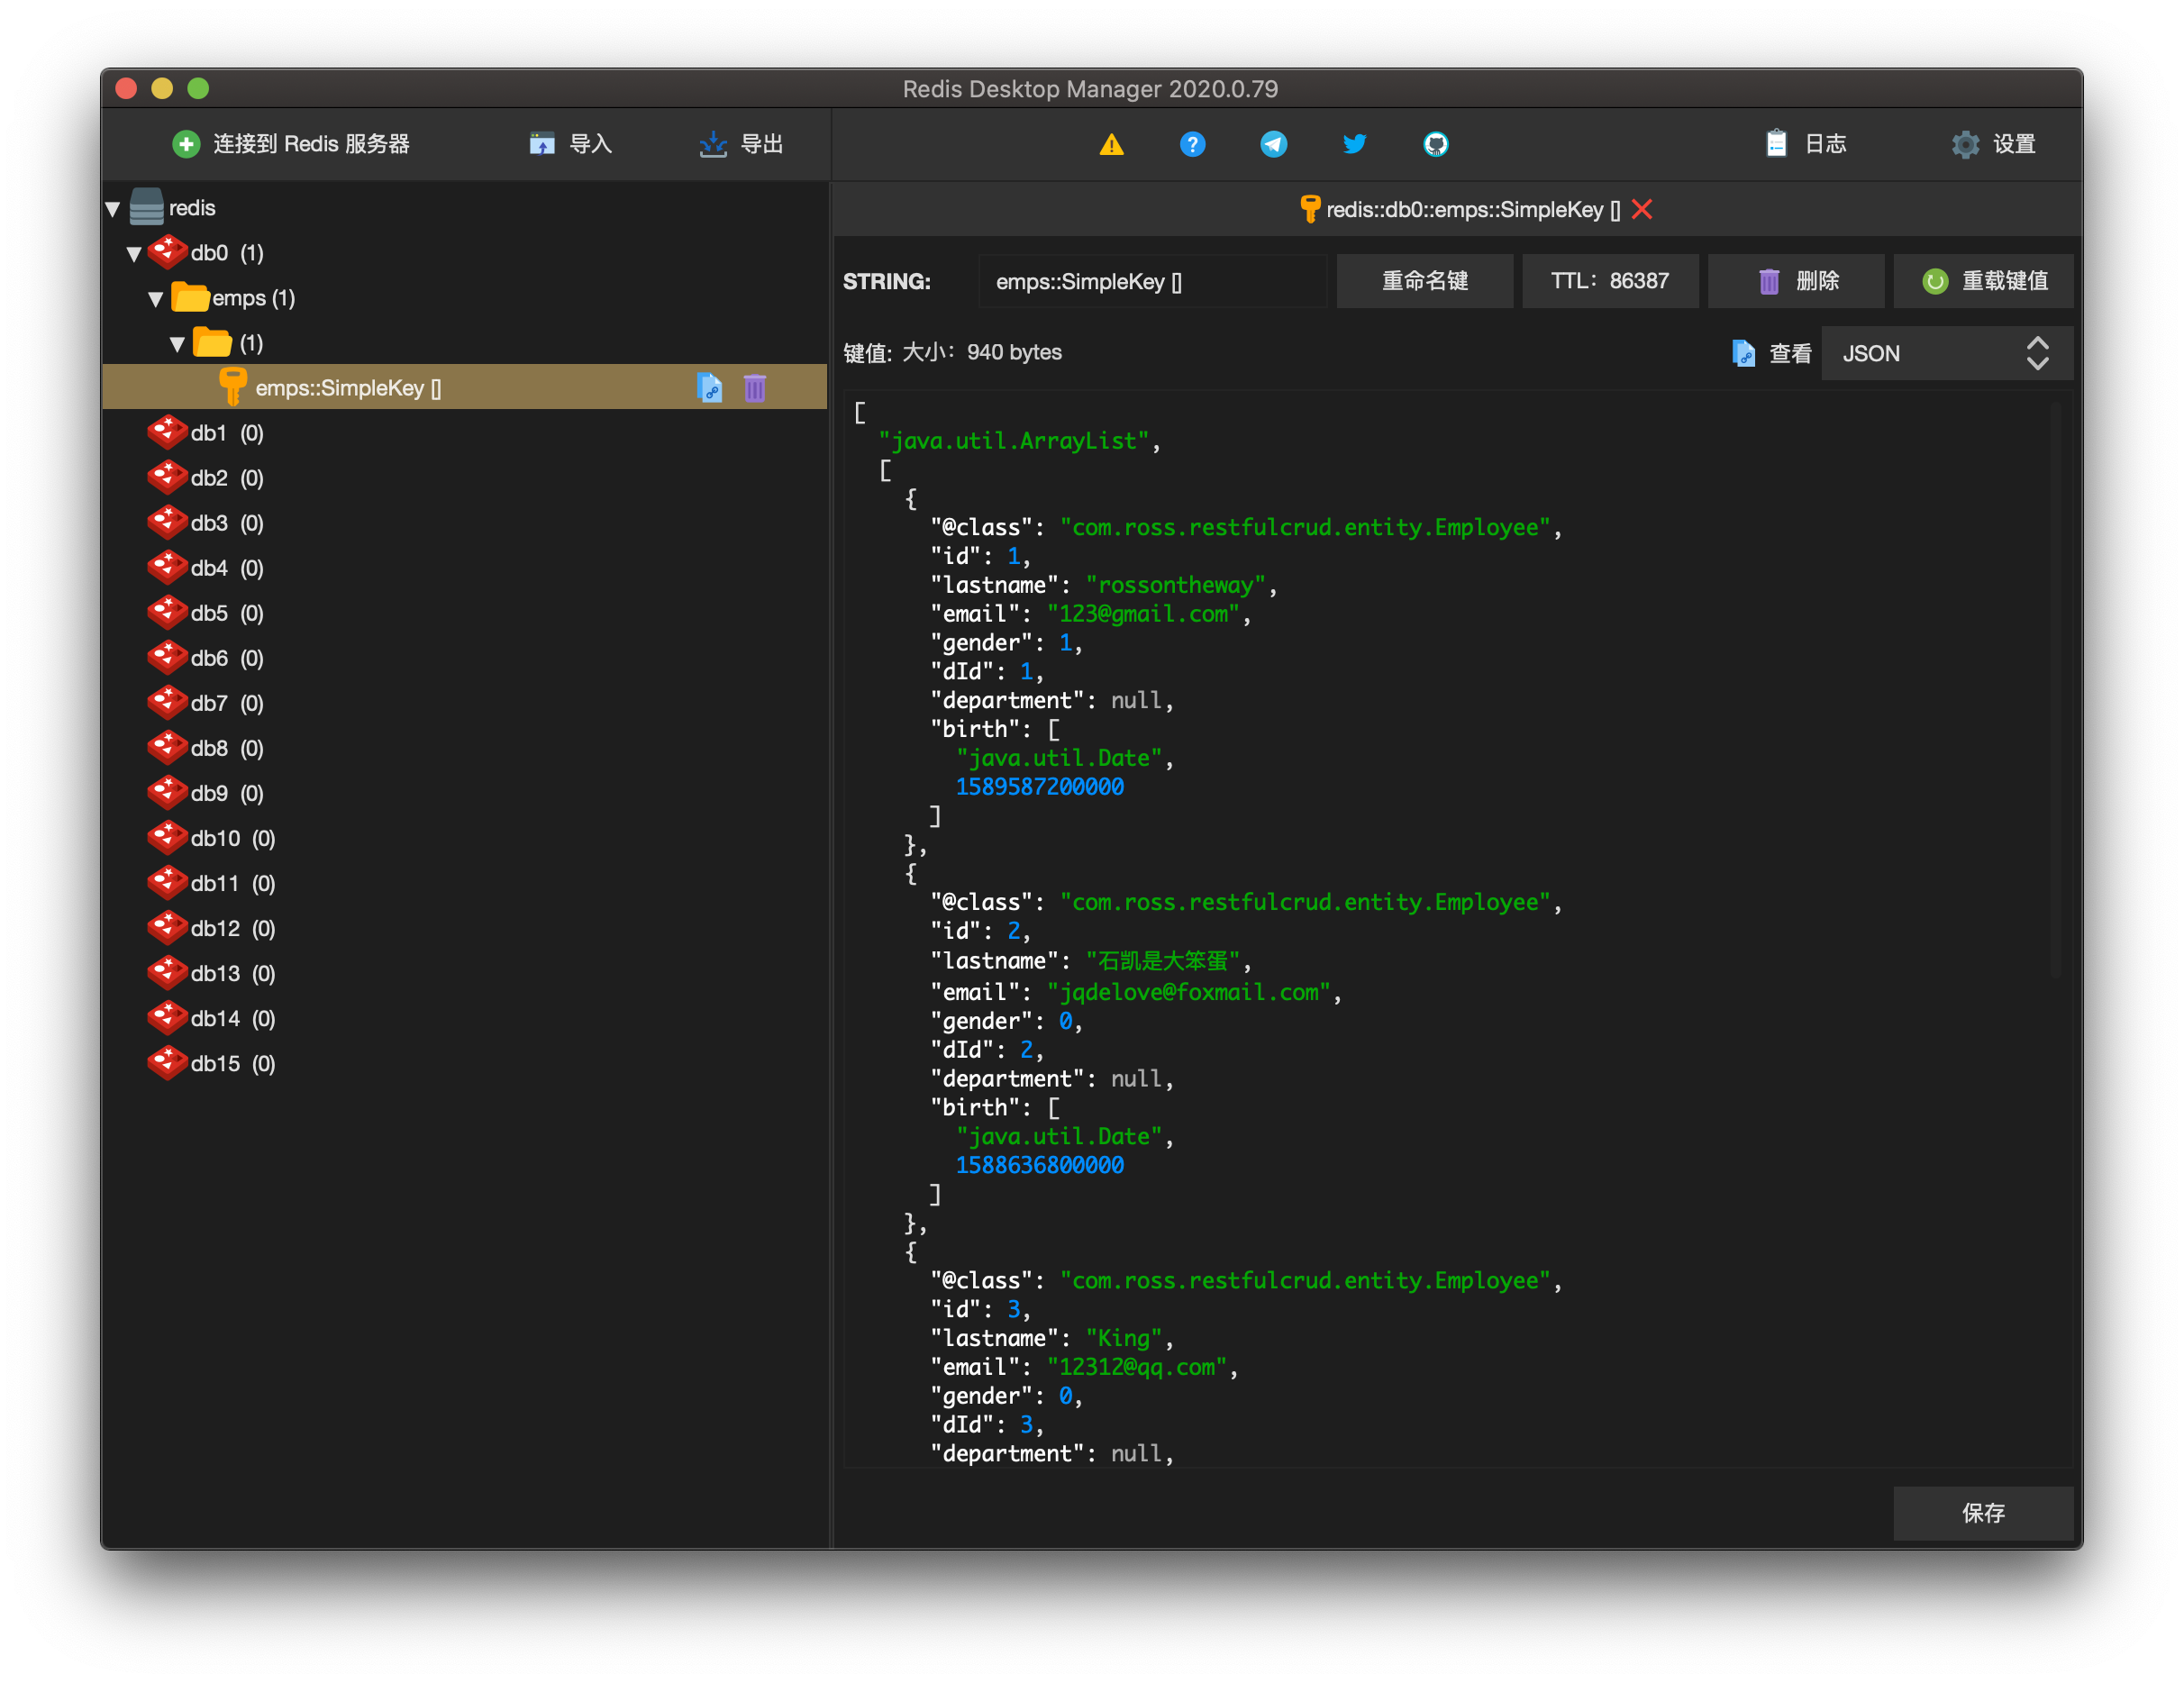
查看缓存的效果
项目参考
该测试缓存的项目已经被我开源在github中,并且也已经在腾讯云上投产,所使用的Redis环境以及MySQL均使用docker部署在腾讯云。
github地址:https://github.com/jqdelove/RESTful-API-Test-SpringBoot-Micro-Service
项目部署测试地址:http://129.204.207.233:8083/crud
